Tinning: The Key to Easy Soldering
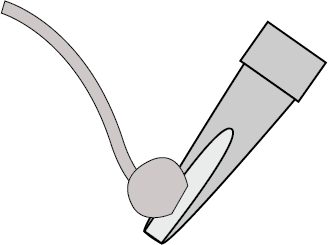
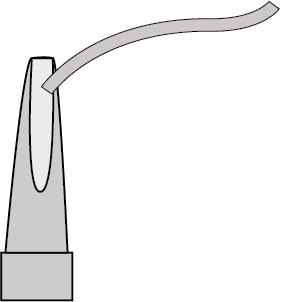
You need to keep a thin layer of solder on your tip at all times. This is called tinning. Without it you won't be able to transfer heat to your solder joint.
As soon as your soldering iron heats up, the tip is going to tend to oxidize. When this happens it won't accept solder. To clean it off, wipe it against your damp sponge. Now immediately apply solder to the tip.
Once your tip has a nice layer of solder flowed across it, it is tinned! This is one of the most important things to ensure success. You want to keep your tip tinned at all times. This will help dramatically increase its useful lifetime, too.
Summary
Tinning Steps
- Wipe both sides of the tip
- Quickly, immediately apply solder
- Repeat until the tip is shiny
Re-tin
While soldering, clean and tin the tip every few joints
Troubleshooting

If the solder still doesn't flow over the tip and leave it with a coating, clean it again. If after several times you're not making any progress, it may be time to replace the tip.
Alternatively you can use a special tip tinning product, or a jar of flux which will work more aggressively to remove oxidation. Do not use "tip tinner" products for routine maintenance, though, as it's usually abrasive. Instead use it to get a little more life out of an already-damaged tip.
Tips for Tips
Here are some good rules of thumb to follow:
- Clean and tin the tip immediately after turning on your soldering iron.
- Keep the tip protected by putting a large amount of solder on it any time you'll be setting it down for more than a few seconds. Wipe it gently when you pick it up again, optionally adding more solder if needed.
- Clean and tin every few joints while using it
REMINDER
You NEED to keep a layer of solder on your tip at all times

