Flashlight Project
Last updated: 2023-05-16
Buttons
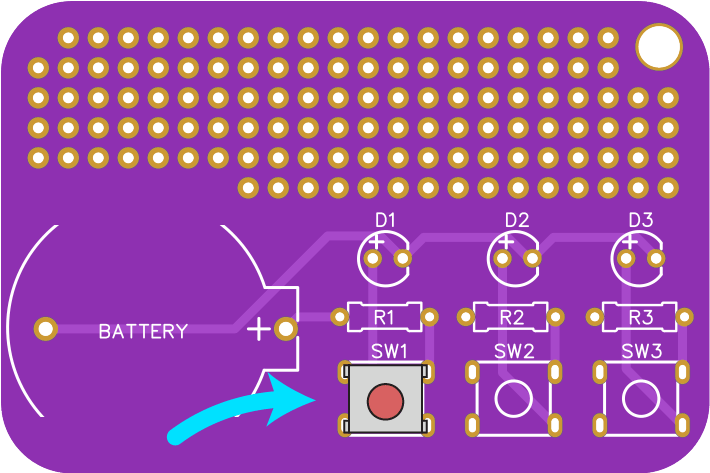
Locate the 3 buttons and squeeze their legs gently to bend them at a right angle to the body. This is optional, and will help keep the button from falling off the PCB before you solder it.
Place one of the buttons into the SW1, SW2, or SW3 spots on the PCB.
No need to worry about orientation, one direction simply won't fit, and for the other you can safely rotate it 180° since it is symmetric and has no polarity.
Turn the PCB over, ensuring the button doesn't fall out. If it does, bend the legs more, or hold the button in place with blue putty, tape, or even just use pressure against the table.
Solder its 4 legs to the PCB, then repeat with the other two buttons.

