Install Jack PCB
Insert Jacks Into PCB (Don't Solder Yet)
Scratch away some of the powder coat on the inside of the enclosure or the rim of the holes for one of the jacks. Use whatever metal tool you have available (a fork will work in a pinch). You want the metal threads on at least one of the jacks to touch the raw metal of the enclosure. This connects the enclosure to the GND net and helps shield your pedal from electromagnetic interference, which can cause noise.
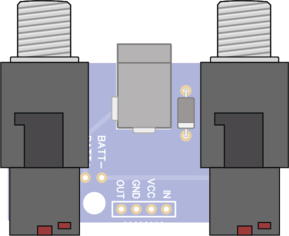
Gently insert the jacks into the PCB. Make sure they click into place. Don't solder them yet, though.
Attach to Ribbon
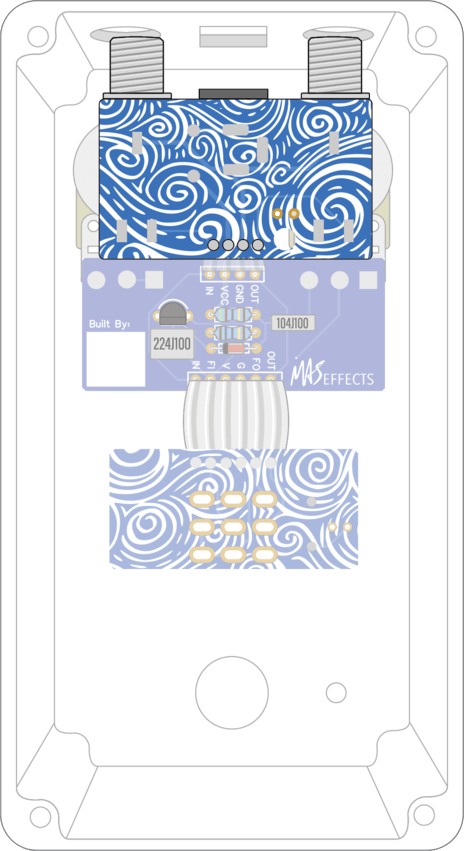
Flip the board over (swirly side up) and insert the ribbon cable into the 4 pads at the bottom. Just as with the other ribbon cable, it will be inserted into the side with the rectangular box printed around the pads.
Verify it looks like the illustration shown here.
Solder each of the 4 wires.
Install, Then Solder Jacks

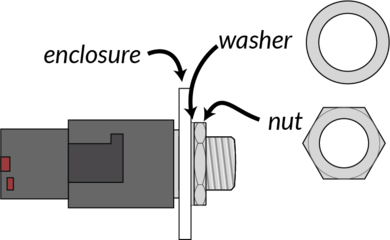
Push the jacks through the holes at the top of the enclosure. Secure the input and output jacks with a washer, followed by a nut. Tighten the nuts with the supplied wrench.
Make sure the PCB is seated completely on the jacks, then solder the the jacks to the PCB.
Stress on Solder Joints
By securing the jacks to the enclosure before soldering the joints, you have the opportunity to adjust the PCB to place the DC jack in its hole.
Had you soldered everything to the PCB first, the angle of the PCB on the jacks may not be ideal and you could put undue stress on the solder joints when you tighten the nuts.


