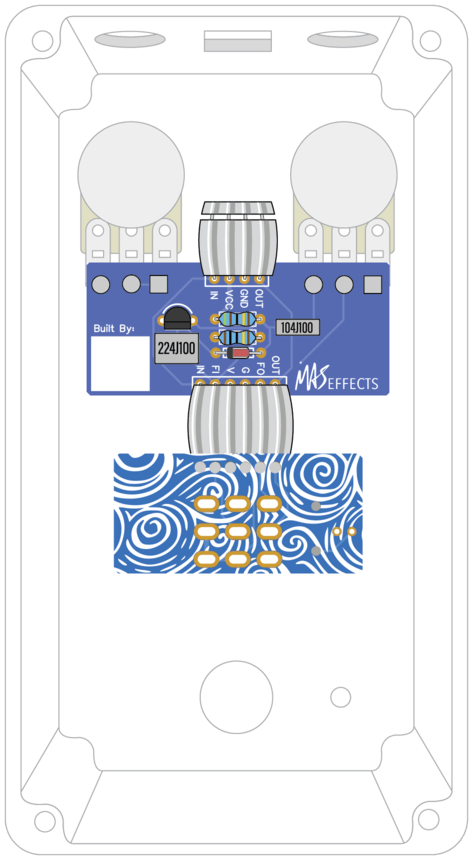
Install Main PCB
Install the main PCB onto the 6 legs of the potentiometers. If they don't line up, loosen the nuts and make adjustments, then tighten them again. You may also need to bend the legs slightly to straighten them if they're crooked.
Ensure the nuts on the potentiometers are tight and the potentiometers don't want to rotate.
Solder the potentiometers to the PCB.
You'll find these require a bit more heat and more solder than the previous components. You don't have to adjust the iron's temperature to get more heat into the joint; instead, you'll simply hold it there for a beat longer (e.g., 2 seconds instead of 1).
If you don't see a good dome shape (refer back to the How To Solder book) then heat up the joint and add more solder while ensuring it's flowing onto both the potentiometer leg and the PCB pad.

